
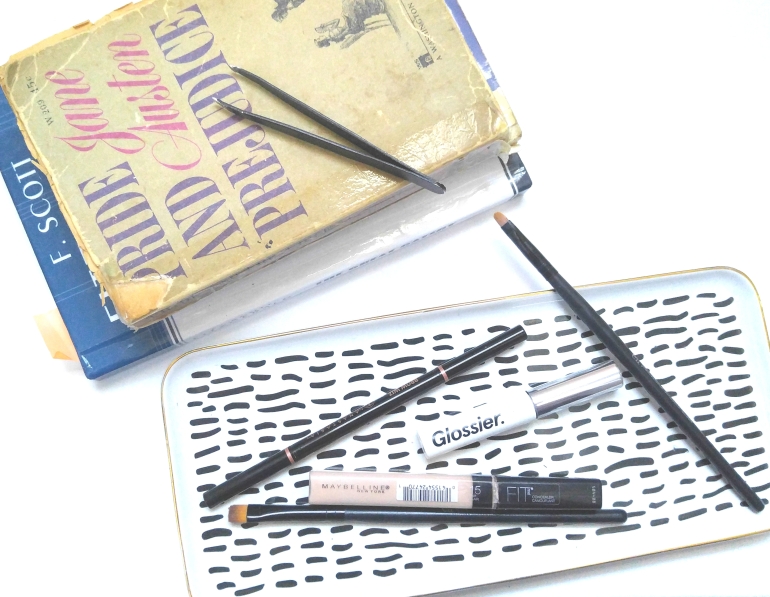
Brows: we all have ’em. And no matter the shape, color, or size, it’s always lovely to have a nice brow routine that can transform your look to a whole new level. I firmly believe that if your brows look good and your highlight is poppin’, you can conquer anything your day throws at you.
So today I’m going to be talking all about my bullet-proof brows. I know that when I put these on that they’re going to stay sharp all day long, compliment a full face of makeup, and allow me to slay my day.
With that being said, let’s get fleeky.
01. AWAKE THE BEASTS
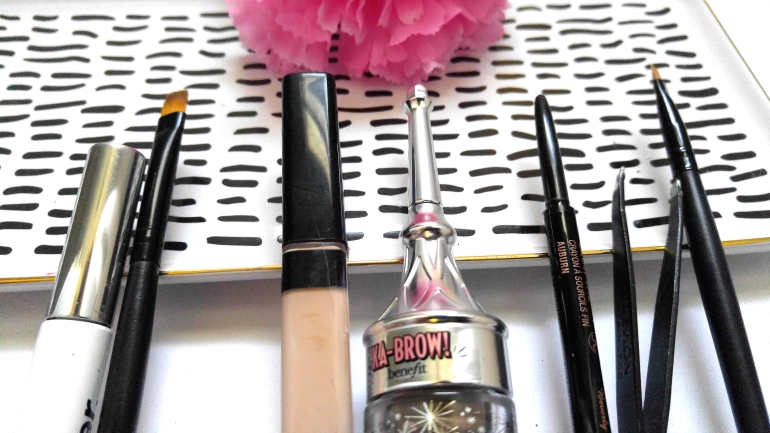
Whether I’m going for a tame or a full-on glam brow, it doesn’t matter. I always comb through my brows to place them in the shape that I like. I like to use my ABH Brow wiz comb to do this because it’s quick, easy, and accessible. I like to fluff my hairs up and then comb them which ever way makes them look more full, shapely, and defined. Play around with it. Find your groove. Don’t be shy. You got this.
02. DEFINE THE LINE
After I get them in the desired shape, I then line the bottom and top of my entire brow with my ABH Brow Wiz. You can make your brow as thick or thin as you would like on this step. I make sure to go lighter on the inner brow, and apply more pressure on the outer brow to create that “natural” gradient effect. After this, I enhance the tail of the brow and shade in most of my brow. I leave the front hairs blank however, to avoid making it look too harsh. I then comb through my brows once again with a spooly.
03. KA-BROW
After I got the basic shape, I then take a cream brow product (As you guessed: I use Benefit’s Ka-Brow) and I basically do the same thing. I sharpen up the outline of the brow, again not touching the front. After my outline is sharp, I use what is left of the product to fill in my brows. This step is essential to get your desired shape and color. After all that is done, I then run the little bit of product I have left on the brush through the front of the brow to help add some pigment and dimension. After you’re done, comb through again. And don’t get discouraged if they look a little crazy at this step. You’re not done yet!
04. SET HER UP
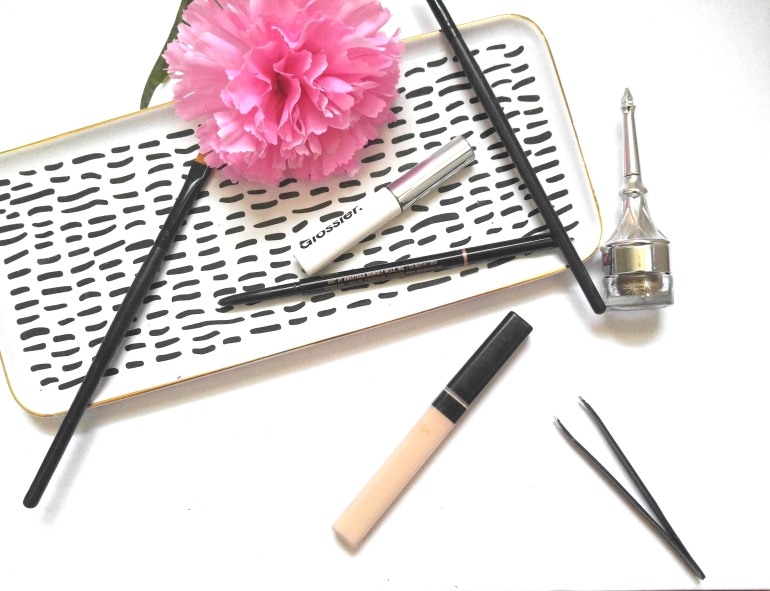
Some may think it’s unnecessary, but I really like to set my brows at this point with a tinted or clear brow gel. My favorite to use is, of course, Glossier’s Boy Brow. I run it through mostly at the front to help define the hairs, make it more pigmented, add dimension, and to allow it the overall look to be less dry and chalky.
05.WHEN IN DOUBT, BLEND IT OUT
Sometimes at this point I’m not super happy with the gradient, blending, etc. of the look and if that’s the case I take a light shadow that matches my brow color and use it to add a little more somethin’ to the look! It definitely helps bring it all together.
06. CLEAN & MEAN
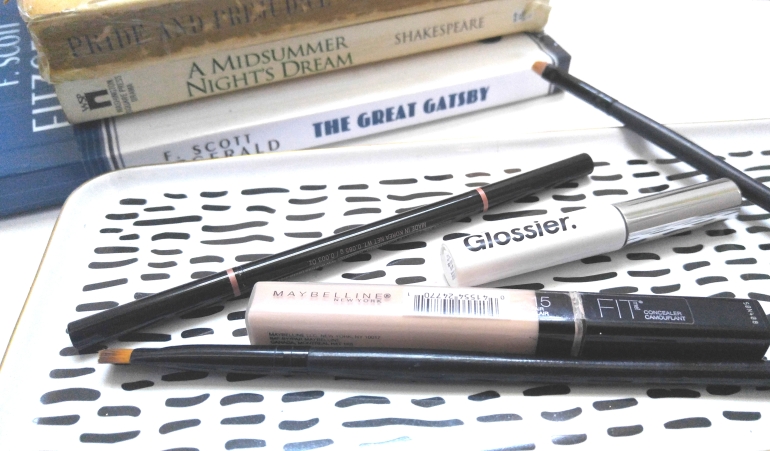
Now it’s for the final step… dun dun dunnn. Sharpen it all up! Take your favorite concealer that matches your skin and outline your new perfect brows for a more chiseled look. I like to blend it out a bit after and add a little translucent powder to set.
And there you have it! Now you can take on the world!

(here’s a quick little look at my brows when they’re complete! Also: would anyone like to see how I get this look? it’s my go-to every day makeup!)
Do you prefer more natural or bold brows? What is your favorite go-to brow product? Let me know in the comments below!
And as always, thanks for reading!

yay brow routine! I love your pictures a lot! and yes please do a tutorial on your everyday look!
LikeLike
Your brows look fab:) Thanks for sharing hun!
http://yourbeautyjournal.com/maybelline-the-blushed-nudes-eyeshadow-palette/
LikeLike
Your brows look amazing! Brilliant post with great tips. You have a really enjoyable writing style! x
LikeLiked by 1 person
You are so sweet to me, thank you very much! 🙂
LikeLiked by 1 person
Lovely eyebrows!!!
LikeLike
:D:D:D …think I NEED this
LikeLiked by 1 person
Have you tried the Ka Brow product yet? If not, it’s a must! So good!
LikeLiked by 1 person
No I daren’t …..I don’t understand it all ….I walk into superdrug and am bambozzled with all the products ….that’s why I reckon I NEED your blog ……ok I’m …er hem ( coughs) ….a little older than yourself :D:D:D …..but your never too old to take care of yourself right?
By the way …which country are you in?
LikeLike
You are so pretty !:) great post – would love to see everyday look 🙂
LikeLiked by 1 person
Thank you so much, lovely 🙂 I definitely plan on doing a makeup look on it this week. I’m wondering if I should make it into a step-by-step picture guide, or maybe post a chatty video explaining it all. As a reader, what would you prefer?
LikeLiked by 1 person
For me , I prefer step by step picture guides. It’s way simpler – and I can easily refer to all of the steps instead of trying to rewind and fast forward . But I’m sure that whatever you do will be great! 🙂
LikeLike
And your brows are AMAZING by the way 🙂
LikeLike
Aw, thanks lovely! It took me a reallllly long time to find the right products/technique for them, haha. They used to look like tadpoles 😛
LikeLiked by 1 person